Due to lack of interest, we had to decide to discontinue this repository.
The CMF project focusses on the Routing component and RoutingBundle, which are still in active use by other projects.
This repository will no longer be upgraded and marked as abandoned, but will be kept available for legacy projects or if somebody wants to experiment with the CMF.
You can contact us in the #symfony_cmf channel of the Symfony devs slack.
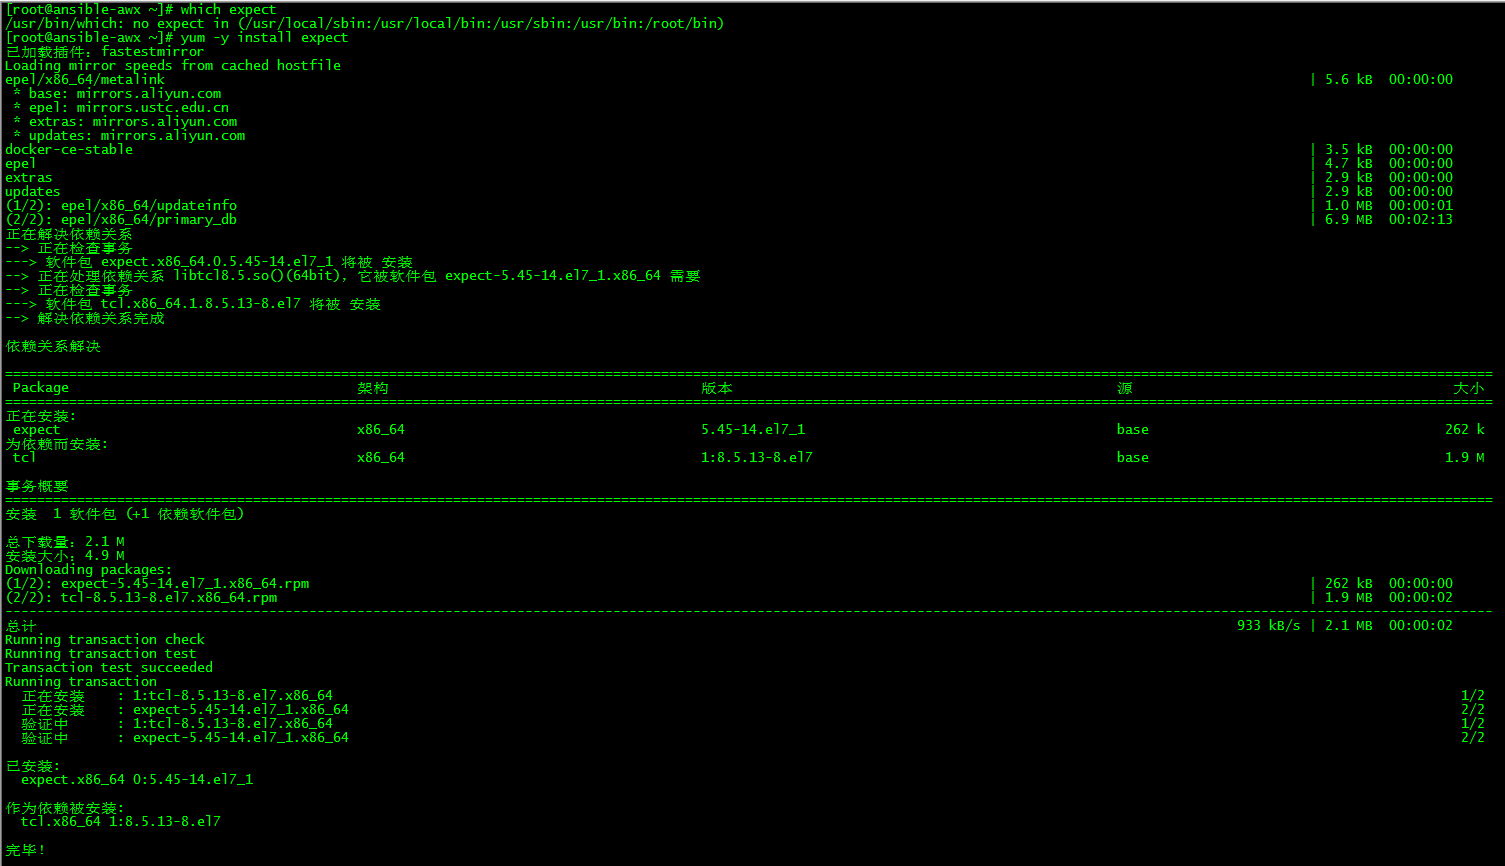
[root@ansible-awx ~]# which expect
/usr/bin/which: no expect in (/usr/local/sbin:/usr/local/bin:/usr/sbin:/usr/bin:/root/bin)
[root@ansible-awx ~]# yum -y install expect
This is a minimal in-browser internationalization solution: if you are doing a static page this might be what you need to support multiple languages, although it can easily be used in more complex setups.
Usage
Require and initialization
Since it will govern what text to display it’s a good idea to require int as soon as possible, I recommend doing it in your <head> element.
The detect option is set to false by default, but if enabled, it will attempt to toggle the user’s browser navigator.language automatically on load, unless that user has explicitly toggled a preferred language before.
When using detect: true you might not want to make a difference between, say, en-US and en-UK, as that would mean writing a ton of repetitive language elements.
However, if you set the strict option to false in the constructor then Int will only pay attention to the first two characters of the user’s preferred language, so any en-* in navigator.language will match your en elements.
Int is a very tiny solution and doesn’t include custom language display styles, however, by using the standard html lang property it gives you the ability to style individual languages easily. For example: if you want Arabic to be displayed with its proper right-to-left style, simply add this to your CSS:
:lang(ar) {
  direction: rtl;
}
That’s it.
Int is (for now) an immature project, it is running in production in a few sites but you must keep in mind that the main usecase is simple static sites hosted in places like github pages:
It might not be your cup-of-tea, it might not solve your use case, that’s okay: Int won’t attempt to solve internationalization for everyone, instead it will attempt to solve it elegantly for some people, there are plenty of other solutions out there already :).
These are all plugins I use(d). They are only compatible with GNOME-Builder Nightly. Maybe they work with older versions, but this is not
guaranteed.
Install
For configuring you can use the configure.py script, too.
Without docker
# If you have Fedora 37
sudo dnf install git vala meson gcc libgee-devel json-glib-devel gtk4-devel gtksourceview5-devel libadwaita-devel libpeas-devel template-glib-devel g++ libsoup3-devel
# or if you have Ubuntu 22.10 (Tested: That it compiles)
sudo apt install git valac meson gcc libgee-0.8-dev libjson-glib-dev libgtk-4-dev libgtksourceview-5-dev libadwaita-1-dev libpeas-dev libtemplate-glib-1.0-dev g++ libsoup-3.0-dev zip
git clone https://github.com/JCWasmx86/GNOME-Builder-Plugins
cd GNOME-Builder-Plugins
meson build
cd build
ninja install
Docker/Podman
DOCKER_BUILDKIT=1 podman build --file Dockerfile --output out --no-cache .
After that, a file called dist.zip will be in the out directory.
You can copy it to ~/.local/share/gnome-builder/plugins/ (Create it if it
does not exist) and unzip it there.
mkdir -p ~/.local/share/gnome-builder/plugins
cp out/dist.zip ~/.local/share/gnome-builder/plugins
cd ~/.local/share/gnome-builder/plugins
unzip dist.zip
Plugins
Name
Description
Will attempt to upstream?
callhierarchy
Uses LSPs to get the call hierachy of a function/method
❌
clangd
(Copied from upstream, converted to Vala): Clangd integration
❌
gitgui
A small git integration
❓
hadolint
Integration for Hadolint, the Dockerfile linter
🎉
gtkcsslanguageserver
Integration for gtkcsslanguageserver
✅
icon_installer
Allow installing icons easily in your project
markdown
Indenter for Markdown
🎉
meson
Integration for my meson language server
🎉
scriptdir
Allows you to execute predefined scripts from ~/.local/share/gnome-builder/scripts for e.g. common tasks
shfmt
Shfmt integration
❌
swift
Integration for the swift buildsystem
🎉
swift-format
Integration for swift-formatter
🎉
swift-templates
Extends the CreateProject-Dialog to add Swift-Support
✅
swift-lint
Integration for swift-lint
🎉
texlab
LaTeX integration
❌
xmlfmt
Formatter for XML
🎉
✅: Yes
❌: No
❓: Parts are planned
🎉: Is upstream
Empty: Time will tell
Changes to ide.vapi
HtmlGenerator.for_buffer: Remove public
Ide.BuildSystem:
get_build_flags_async: virtual
get_build_flags_for_files_async: virtual
get_project_version: virtual
get_srcdir: virtual
supports_language: virtual
supports_toolchain: virtual
Ide.WorkspaceAddin:
ref_action_group: virtual
restore_session: virtual
restore_session_item: virtual
save_session: virtual
Ide.RunCommand:
set_argv: string array as arguments
set_argv: [CCode (array_length = false, array_null_terminated = true)] to the argument
Ide.RunContext:
append_args: string array as arguments
append_args: [CCode (array_length = false, array_null_terminated = true)] to the argument
Template repo that creates virtual machines with Docker, Docker Swarm, Traefik, NGINX. It shows how easy you can create “feature branch” deployment on your VPS
Installation
Make sure that you have installed vagrant with libvirt plugin and ansible! Generate all env keys to access machine:
(cd keys/; ./generate-keys.sh)
Run vagrant and create vm (do not use --create-vm option if you want to only re-run ansible configure).
./start-dev.sh --create-vm
Edit you /etc/hosts on local machine and add these entries:
and after deployment visit (edit /etc/hosts before):
http://ladybug.example.com/
Firewall
Project uses iptables. Find rules.v4 file to customize firewall.
nmap -Pn 192.168.56.10

Starting Nmap 7.80 ( https://nmap.org ) at 2022-09-21 15:40 CEST
Nmap scan report for traefik.example.com (192.168.56.10)
Host is up (0.00028s latency).
Not shown: 997 filtered ports
PORT    STATE SERVICE
22/tcp  open  ssh
80/tcp  open  http
443/tcp open  https

Nmap done: 1 IP address (1 host up) scanned in 4.75 seconds
Delete
./start-dev.sh --destroy-vm
License
MIT License
Copyright (c) 2022 Mateusz Bagiński
Permission is hereby granted, free of charge, to any person obtaining a copy
of this software and associated documentation files (the “Software”), to deal
in the Software without restriction, including without limitation the rights
to use, copy, modify, merge, publish, distribute, sublicense, and/or sell
copies of the Software, and to permit persons to whom the Software is
furnished to do so, subject to the following conditions:
The above copyright notice and this permission notice shall be included in all
copies or substantial portions of the Software.
THE SOFTWARE IS PROVIDED “AS IS”, WITHOUT WARRANTY OF ANY KIND, EXPRESS OR
IMPLIED, INCLUDING BUT NOT LIMITED TO THE WARRANTIES OF MERCHANTABILITY,
FITNESS FOR A PARTICULAR PURPOSE AND NONINFRINGEMENT. IN NO EVENT SHALL THE
AUTHORS OR COPYRIGHT HOLDERS BE LIABLE FOR ANY CLAIM, DAMAGES OR OTHER
LIABILITY, WHETHER IN AN ACTION OF CONTRACT, TORT OR OTHERWISE, ARISING FROM,
OUT OF OR IN CONNECTION WITH THE SOFTWARE OR THE USE OR OTHER DEALINGS IN THE
SOFTWARE.
Full-stack travel reservation application provides users with a comprehensive and convenient experience when planning their trips. With flexible search features, seamless accommodation booking, secure payment processing, and reservation management, users can make the most of their travels with complete peace of mind.
fsw-trip-demo.mp4
💻 Project Details
FSW Trip was developed using Next.js 13 and is a full-stack web application focused on travel reservations, offering users the ability to choose their accommodation based on their preferred dates and the number of guests. Additionally, the application facilitates the payment process for reservations and allows users to track their existing bookings. Check the project demo and the description of its functionalities below.
The application includes the following features:
Google Authentication:
Users can sign up and log in to the application using their Google accounts.
Accommodation Search:
Users can search and view a wide selection of available accommodation options. They can filter the results based on criteria such as location, available check-in dates, and desired daily budget.
Accommodation Reservation:
Users can select an accommodation and proceed to the reservation page. There, they can review reservation information, including dates, number of guests, and total price. Users have the option to review and adjust their choices before confirming the reservation.
Secure Payment:
The application offers a secure payment system that allows users to make quick and convenient payments for their reservations. Users can choose from different payment methods and will receive a transaction confirmation once the payment is successfully processed.
Reservation Tracking:
Users have access to a user area where they can view all their existing reservations. They can see detailed information for each reservation, including dates, accommodation location, number of guests, and payment details. Users also have the option to cancel their reservations.
🚀 Technologies
This project was developed using the following technologies:
We believe in a future in which the web is a preferred environment for numerical computation. To help realize this future, we’ve built stdlib. stdlib is a standard library, with an emphasis on numerical and scientific computation, written in JavaScript (and C) for execution in browsers and in Node.js.
The library is fully decomposable, being architected in such a way that you can swap out and mix and match APIs and functionality to cater to your exact preferences and use cases.
When you use stdlib, you can be absolutely certain that you are using the most thorough, rigorous, well-written, studied, documented, tested, measured, and high-quality code out there.
To join us in bringing numerical computing to the web, get started by checking us out on GitHub, and please consider financially supporting stdlib. We greatly appreciate your continued support!
The branches.md file summarizes the available branches and displays a diagram illustrating their relationships.
To view installation and usage instructions specific to each branch build, be sure to explicitly navigate to the respective README files on each branch, as linked to above.
This package is part of stdlib, a standard library for JavaScript and Node.js, with an emphasis on numerical and scientific computing. The library provides a collection of robust, high performance libraries for mathematics, statistics, streams, utilities, and more.
For more information on the project, filing bug reports and feature requests, and guidance on how to develop stdlib, see the main project repository.
NSCI (Net Standard Console Interface) is an window system for .NetStandard console applications.
It aim’s to provide a platform-agnostic graphical user interface .NetStandard (as long as the platform supports a console).
Inspired by WPF It uses similar mechanics. It has its own kind of dependency propertys (NDPropertys) will support styling and binding. Hopefully threre will be a generator that transforms xaml like xml declarations to code.
It started as a fork of CLRCLI. But no longer shares code with this framework besids some class names like RootWindow.
Getting Started
This Project is still in an early stage!So don’t expect it supports every feature that is needed.
Your starting point is the RootWindow. You only have one instance per
application. The RootWindow can have one and only one child element. You can use Controls like Grid or Stackpanel to add multiple elements to the window. Just like you would do in WPF.
Once the RootWindow has been created, you need to call the Run() method on it. After this the render loop is started. There is no problem in changing the window size, but you may not use any members of the Console class that change color courser position oder print characters to the output. This can lead to a corrupted screen.
RootWindow.Detach() will stop the render loop and clears the console window.
See the TestHarness app for a short ‘Hello World’ example.
Supported Controls
It is planed to support following controls:
Root Window
Dialog (no real new window but rendered in the console)
Button
TextBox
Label
Checkbox
Slider
Listbox (SingelSelctionItemsControl)
Scrollview
Horizontal and vertical lines
Borders
Progress bar
Spinners
Grid
StackPanel
And following features:
Templates
Binding
Styles
XML based markup language like XAML
Most likly not supported controls
Because this will be a pure c# implementation that should run not only on Windows, we can’t use P/Invoke to call Methods on the console that are not available in the Managed console wraper provided by .Net. This means some functunality can’t be provided by this project.
Image
Multiple Windows
Mouse controle
Limitations
The damned last character
I haven’t found a reliable way yet to set the last character (bottom right corner) without getting a line
break that delets the first row of the buffer. For now this character will not be used.
The examples run on a Raspberry Pi 4 with Ubuntu 20.04.1 64 bit Server. Unfamiliar concepts are explained in source comments as they are introduced.
Examples include:
hello.s start here if you are completely new to ARM assembly and/or linux system calls
loop.s same as hello.s, but prints a message mutliple times in order to demonstrate a basic looping construct
prompt.s Asks the user for a name then prints out the name with a greeting. Introduces reading input from the command line
guess.s Generates a random number from 0 – 9 and asks the user to guess until the right answer is inputted
collatz.s Asks the user to input a positive number and returns the number of steps for the number to converge on 1 using the Collatz Conjecture
sort.s Demonstrates how a simple sort algorithm (insertion sort) can be implemented in assembly. Each line of the algorithm is mapped to the corresponding assembly code
brk.s An example usage of the brk system call to dynamically allocate more memory to a program.
To Compile
$ as -g name.s -o name.o && ld name.o -o name
where “name” is replaced with the example you want to run
Examining with gdb
It’s highly encouraged to step through the programs with a debugger to see what’s actually going on. To do this run $ gdb name
Here are some commands you’ll want to know:
start starts the program
layout asm brings up a TUI environment so you can see what assembly instructions are being executed
stepi steps one assembly instruction
i r prints out the contents of the registers
x addr prints out the contents of the given address
x/s addr prints out the contents of the given address as a string
q quit
Pressing enter at a blank prompt causes the previously executed command to run again. This can save a lot of typing.
armsim.py
This is a python3 simulator for a subset of arm64 instructions. It aims to be compatible with gnu assembler files and supports a subset of directives. Further documentation can be found in the numerous comments. Currently armsim can run hello.s, loop.s, prompt.s, guess.s, collatz.s, sort.s, and brk.s. See the guide for information on its features and what instructions are currently supported. It’s advisable to use the sample programs as a starting point for understanding the supported instructions and for writing your own programs
armdb.py
A simple debugger interface for armsim. See the guide for usage instructions.
Using armsim as a Library
See this guide for instructions on how to execute armsim from another python program.


 https://github.com/symfony-cmf/seo-bundle